Configuring the sign-in page
This section explains how to set up two-factor authentication (2FA), how to disable default log in fields shown by Seclore, and how to authenticate new users solely with email-based one-time passwords.
Setting up 2FA
Follow these steps to set up 2FA. After it’s set up, end users would need to go through two stages of authentication. To understand the experience for end users, see Signing in to Seclore in our end user help center.
Note that 2FA can be set up for a Seclore FIM repositories only.
Click on Configuration > Repositories.
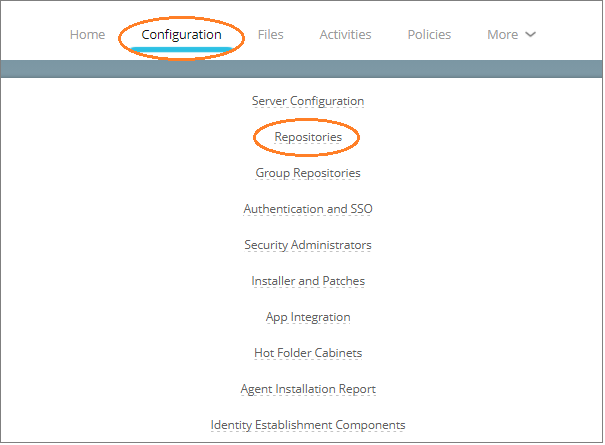
Click on the repository you wish to set up 2FA for.

Enter 1 next to Enable two-factor authentication? and enter 0 next to Allow only email-based security code for authentication.
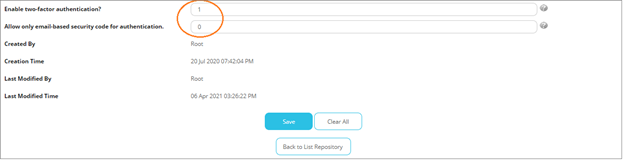
Click Save.
Disabling default log-in fields
You can choose to disable the default log-in fields (Email ID and Password fields shown by Seclore) and only show the third-party authentication options such as Google, Microsoft, or any other supported authentication provider. To understand the experience for end users, see Signing in to Seclore in our end user help center.
Click on Configuration > Repositories.
Click on the repository you wish to make changes to.
Select No next to Display login ID, password fields?

Click Save.
Authenticating users with email-based one-time passwords (OTP)
You can authenticate users in Seclore FIM repositories solely with email-based one-time passwords (OTP). After it’s set up, new users will receive an OTP on email every time they try to log in and won’t get an option to set a password.
Click on Configuration > Repositories.
Click on the repository you wish to make changes to.
Select No next to Display login ID, password fields?
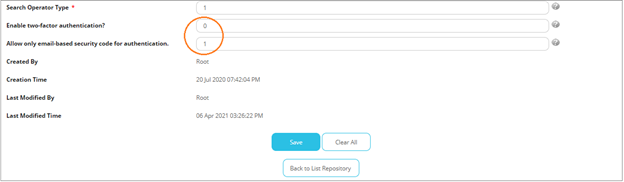
Enter 1 next to Allow only email-based security code for authentication and enter 0 next to Enable two-factor authentication?
Click Save.